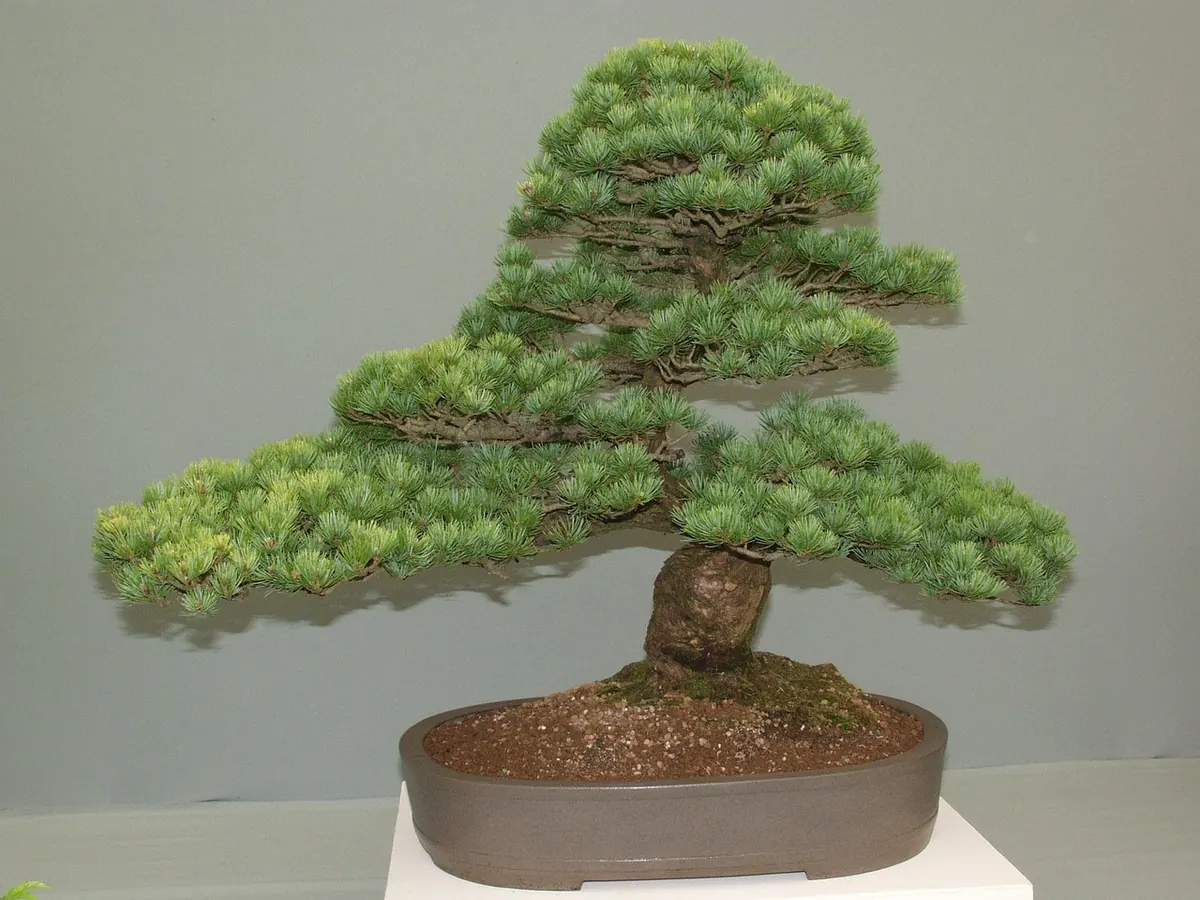
Pines are not like most garden shrubs. Cut a forsythia hard and it will throw out new shoots from old wood. Cut a pine into bare, needle-free branches and it may never regrow there. That single fact explains most pruning mistakes. The good news is that pines respond well to thoughtful cuts made at the right time. Learn where the buds are, when the sap is moving, and how to handle the soft new growth called candles, and you can shape a pine without harming it.
How pines grow, and why it matters
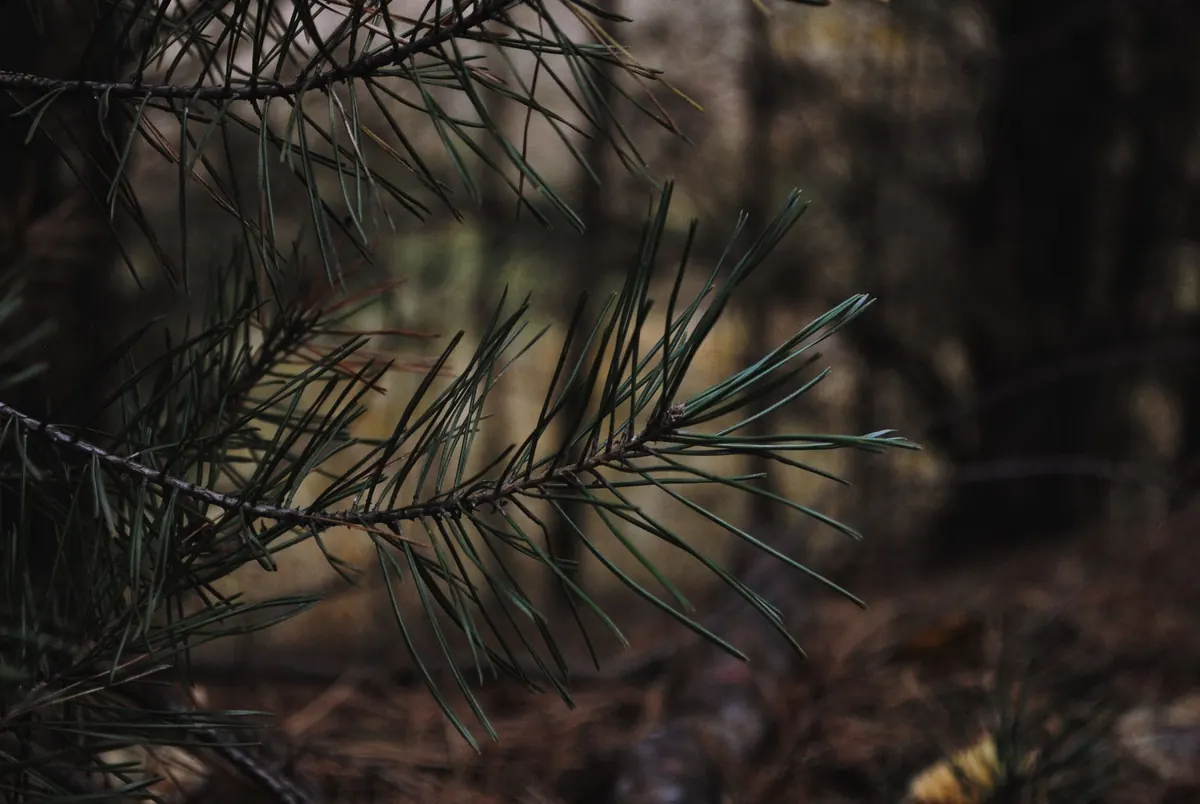
Most pines grow in whorls: a ring of branches around the trunk, with a cluster of buds at the tips. These terminal buds extend into new shoots each spring. Along older branches, dormant buds are rare. If you prune into bare wood, there is often nothing left to grow.
Always cut back to something living: a side shoot, a healthy bud, or the branch collar where a branch meets the trunk. Never shorten a pine to a random point in a bare section. If you remove a limb completely, take it back to the trunk rather than leaving a stub.
The best time to prune a pine
For structural pruning — removing lower limbs or shortening a branch to a side shoot — late winter to early spring is safest. The tree is dormant, but buds are swelling. Cuts made then have the growing season to seal. In the UK, late February to early April usually works. In mild coastal areas, start earlier; in colder northern gardens, wait until the worst frosts have passed.
Avoid autumn and early winter. Wounds then sit open through cold, wet months when the tree is not growing, inviting fungal problems and dieback.
Candle pruning is different. Do it in late spring or early summer, when new shoots have elongated but needles have not fully opened. In southern England this might be late May; in Scotland, mid-June. Watch the tree, not the calendar. Choose a dry day, too.
Candle pruning, step by step
Candles are the pale, upright shoots at the ends of pine branches in spring. Candle pruning controls the length of new growth and encourages a denser habit. It is especially useful on mugo pines, Japanese black pines, and Scots pines grown for shape.
- Wait for the right stage. The candle should be full length, but needles still close together and not fully spread. If it is still tight, wait a week.
- Work from the top down. Start with the strongest upper candles. These drive the tree's energy, so shortening them first helps balance growth lower down.
- Snap or cut by half. Hold the candle between thumb and forefinger and snap off the top half. For a cleaner finish, use sharp, clean secateurs. On strong candles, remove up to two-thirds; on weak ones, remove less or leave them.
- Balance the tree. Leave longer candles in weaker areas and shorten the vigorous ones.
- Do not cut into old wood. Candle pruning only touches the soft new shoot. Brown, woody branches are structural pruning.
The remaining base will firm up. New buds may form around the cut, giving more shoots next year. Not every pine responds the same, so remove less than you think you should the first time.
Making clean structural cuts
For branches up to about thumb thickness, sharp bypass secateurs are ideal. For larger branches, use a pruning saw. Loppers can crush resinous pine wood rather than cut it cleanly.
Cut just outside the branch collar — the slight swelling where branch meets trunk. The collar contains the tree's natural sealing tissue. Cutting flush removes it; leaving a long stub prevents proper sealing.
For a heavy limb, use the three-cut method:
- Undercut about 30 centimetres from the trunk, one-third of the way through from below.
- Make a top cut a few centimetres further out. The branch falls, and the undercut stops bark tearing down the trunk.
- Remove the stub with a final cut just outside the branch collar.
When shortening a branch, cut back to a healthy side shoot at least one-third the diameter of the branch you are removing. If none exists, remove the whole branch. Do not leave a stub hoping it will sprout; on pines, it usually will not. Clean tools between trees and after diseased wood.
Wound care: less is more
Pine wounds do not need paint, tar, or sealing paste. Wound dressings can trap moisture and slow the tree's own sealing process. Pines produce resin, which helps protect the cut. A clean cut in the right place is the best care you can give.
Dispose of diseased prunings in the bin, not the compost heap, and clean your tools afterwards. A little resin at a cut is normal. After a hard prune, do not pile on fertiliser; water during dry spells and keep mulch clear of the trunk.
Common mistakes to avoid
- Cutting into bare old wood. Without live buds, the branch cannot regrow.
- Pruning in autumn. Wounds stay open through winter and invite disease.
- Leaving stubs. They die back and can become entry points for decay.
- Topping the central leader. It destroys the pine's natural shape.
- Using wound paint. Unnecessary and often harmful.
- Candle pruning at the wrong stage. Too early or late and you miss the window for balanced growth.
- Removing too much at once. Never take more than a quarter to a third of the live canopy in a year. Old or weak pines need even less.
A steady hand, a sharp pair of secateurs
Prune pines with a plan. Remove dead, damaged, or diseased wood at any time of year. Do structural work in late winter to early spring. Candle prune in late spring or early summer. Cut to live side shoots, respect the branch collar, and skip the wound paint. If in doubt, take off less. A pine grows slowly, and a bad cut can take years to correct.
Large pines are heavy and awkward to reach. If a branch is bigger than your arm, close to overhead wires, or within falling distance of a building, call a qualified tree surgeon. If the tree is protected by a Tree Preservation Order or sits in a conservation area, check with your local council before pruning.
Photo: VocabMike / Pixabay